
How to Hold a Pool Stick: Essential Tips for Beginners
Holding a pool stick the right way might seem simple to the uninitiated. You just grab it with your trailing hand, rest the tip between your knuckles, and off you go.
But in practice, the technique is more complex than that. Some players have a knack for it, while others require practice and professional instruction.
Holding a pool stick correctly matters for several reasons, including making your shots more consistent. Building up reliable muscle memory teaches you the likely direction of cue ball strikes. You can be more accurate and gain superior control, allowing you to avoid fouls and scratches.
Furthermore, it is more comfortable. A relaxed cue hold lets you play longer without straining your muscles or posture – ideal for tournaments.
How To Hold A Pool Cue Correctly
So, how do you hold a pool cue correctly?
It turns out that there isn’t one set way to do it. This leeway depends on your biomechanics and what feels right for you.
Grip The Pool Stick
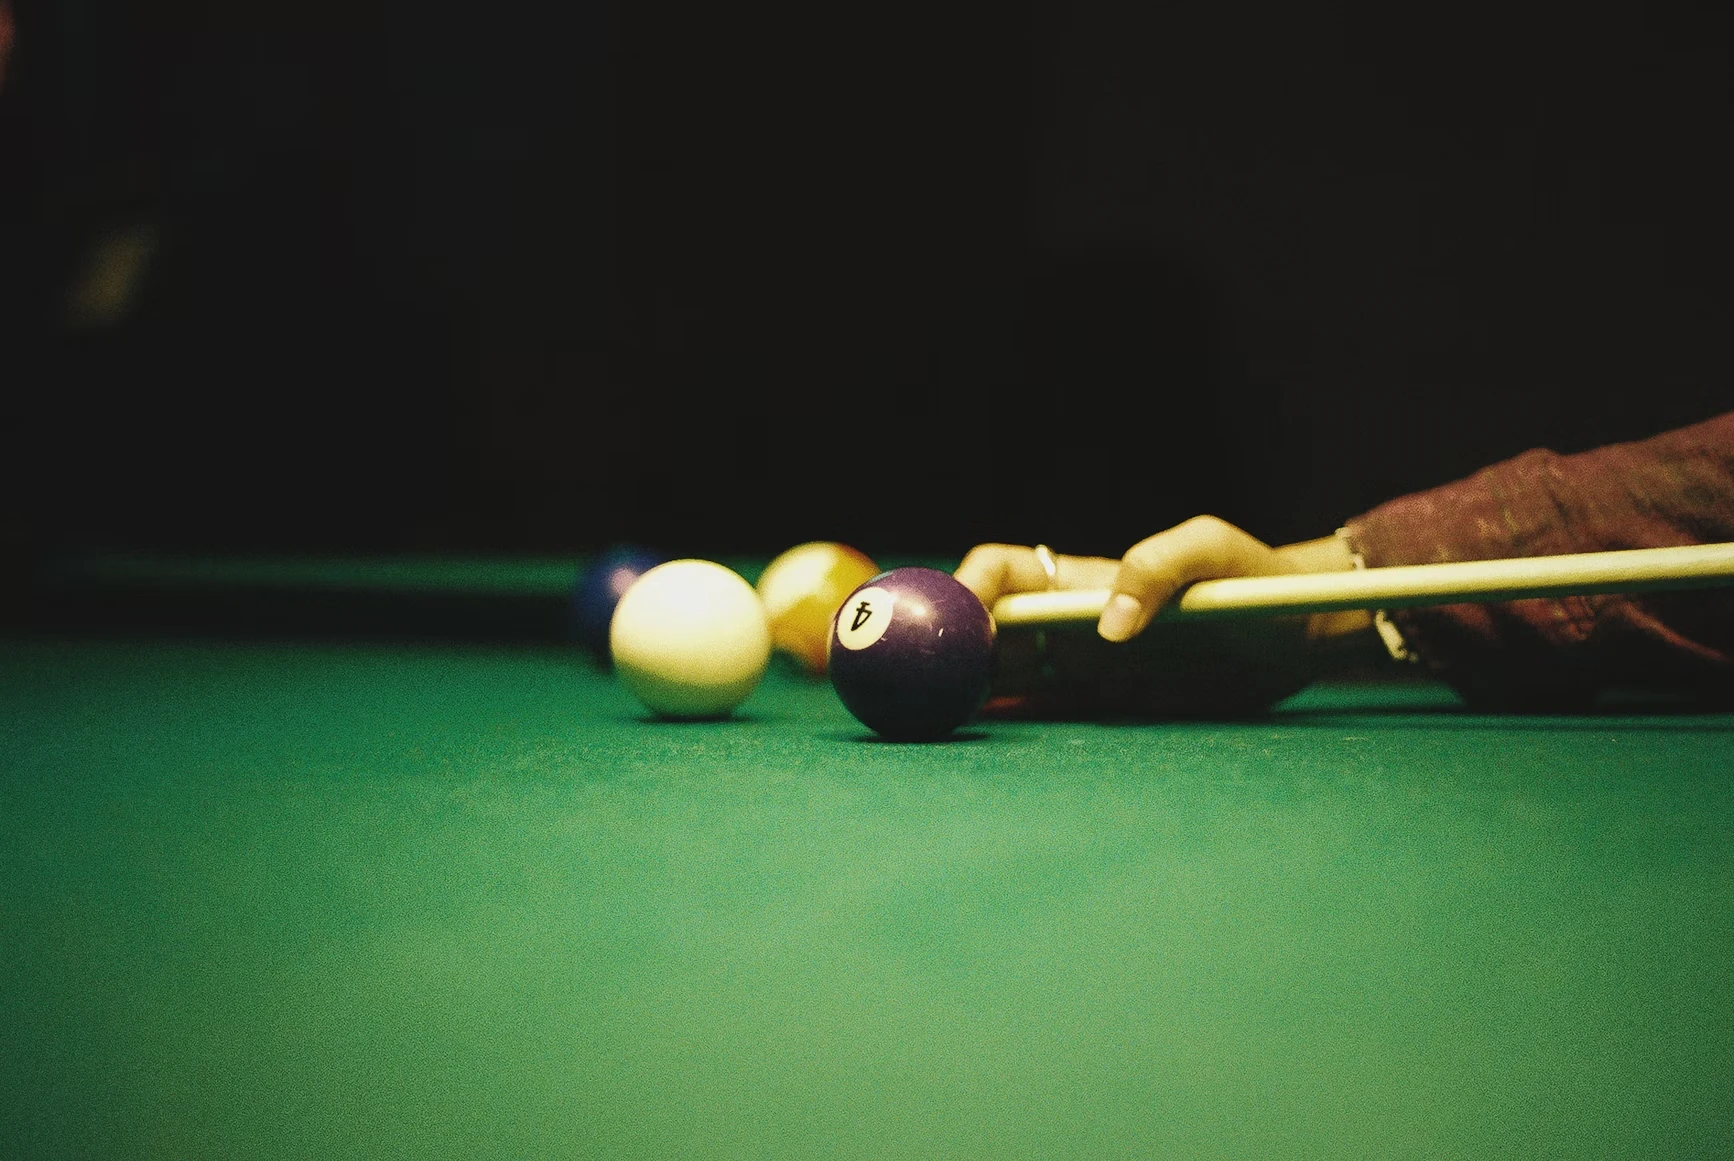
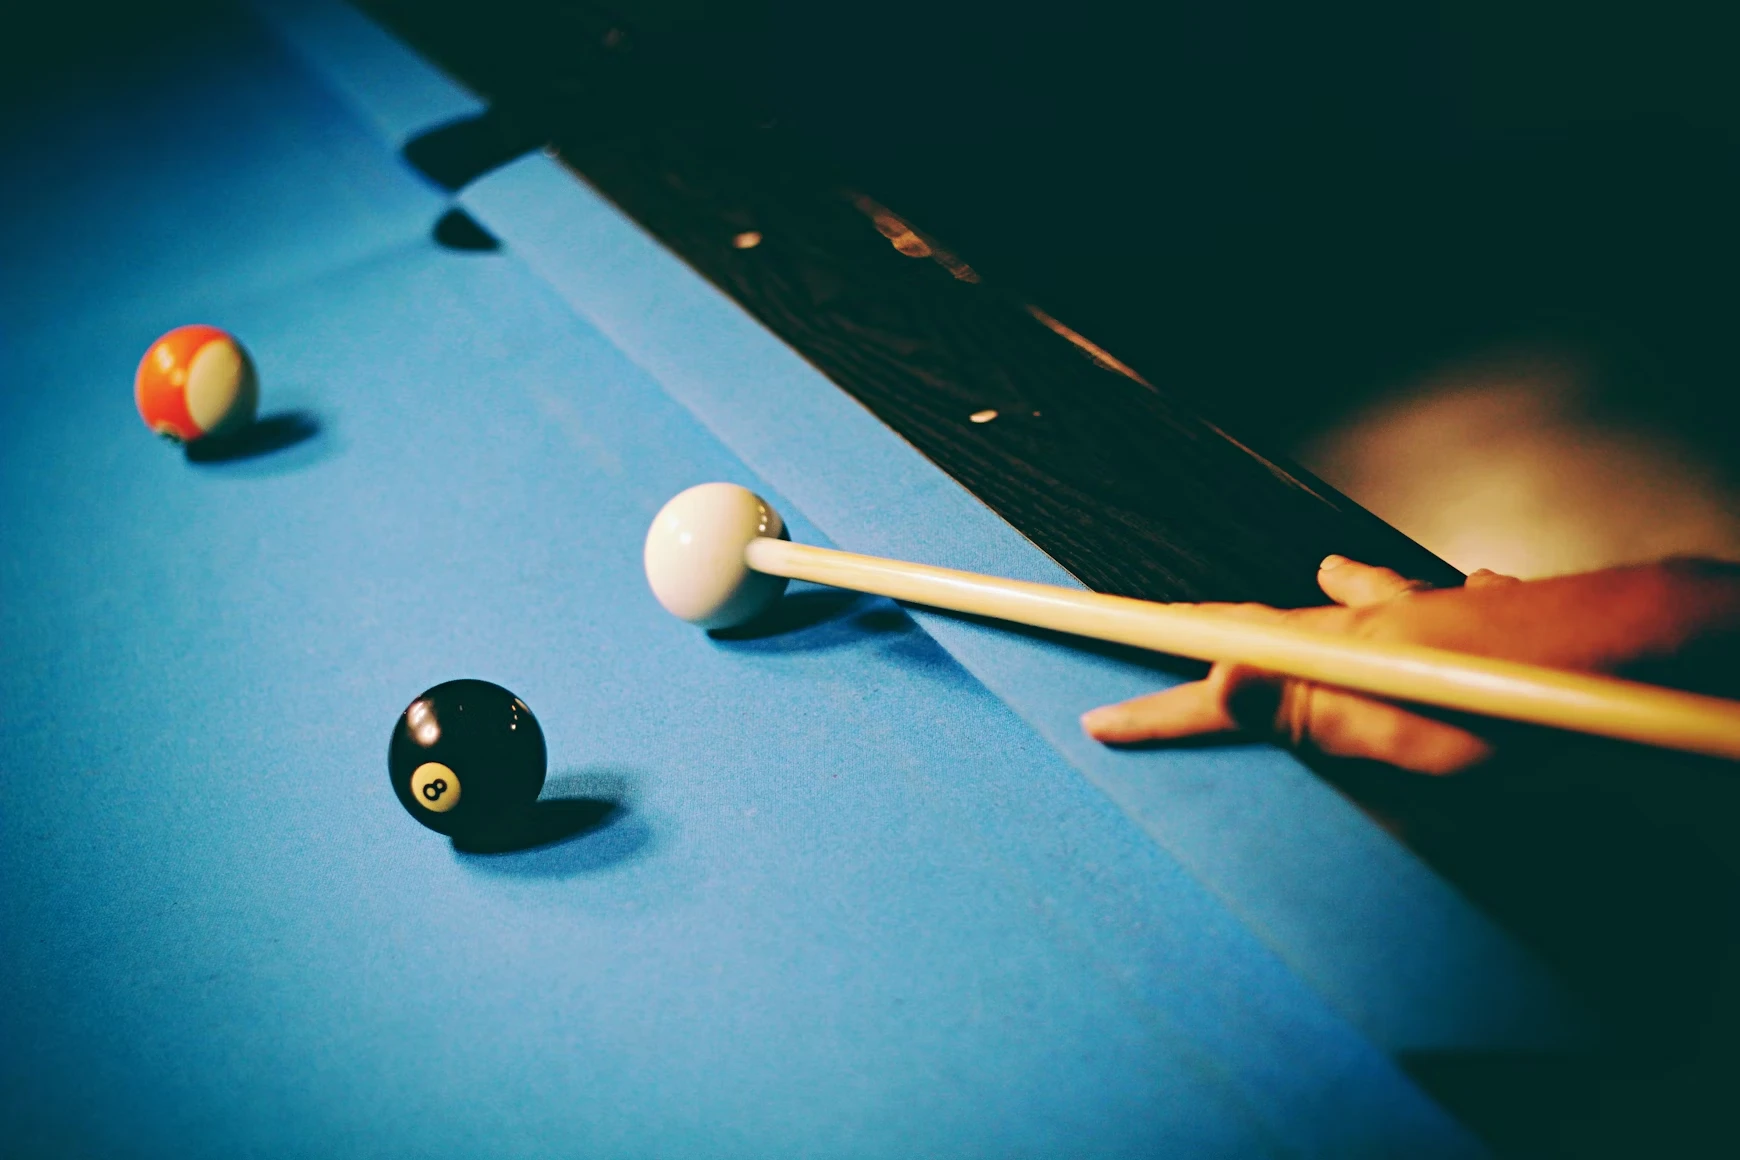
Start by identifying your dominant hand – the one you use for writing, opening doors, or holding a tennis racket. Use this hand to grip the rear of the cue stick about 5 inches back from the start of the tape (usually a brown area at the rear of the cue).
Experiment if you don’t know which hand your lead hand is. See which feels more comfortable and natural.
Hold the pool stick close to your hip. Thrusting from this area is the most stable.
Apply a firm grip but not too hard. Beginners often pinch the pool stick with excessive force, making shots rigid and forced.
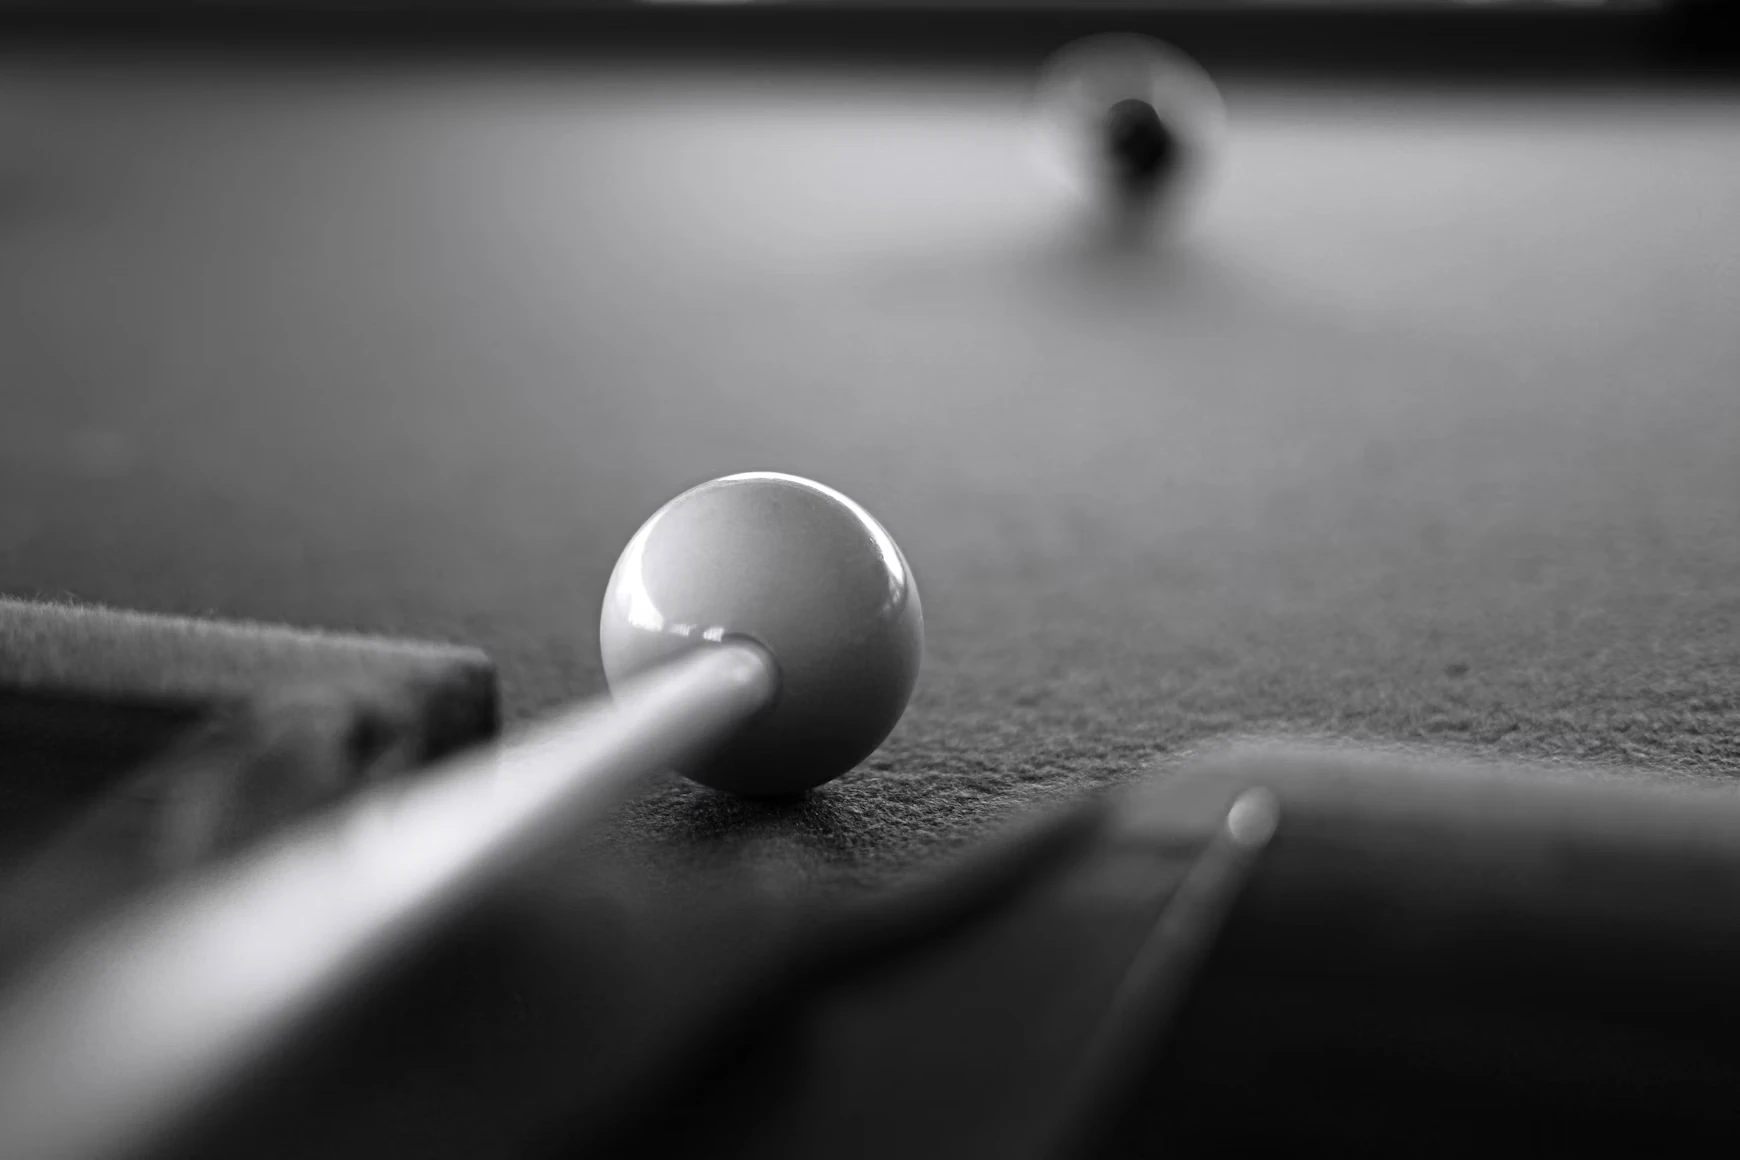
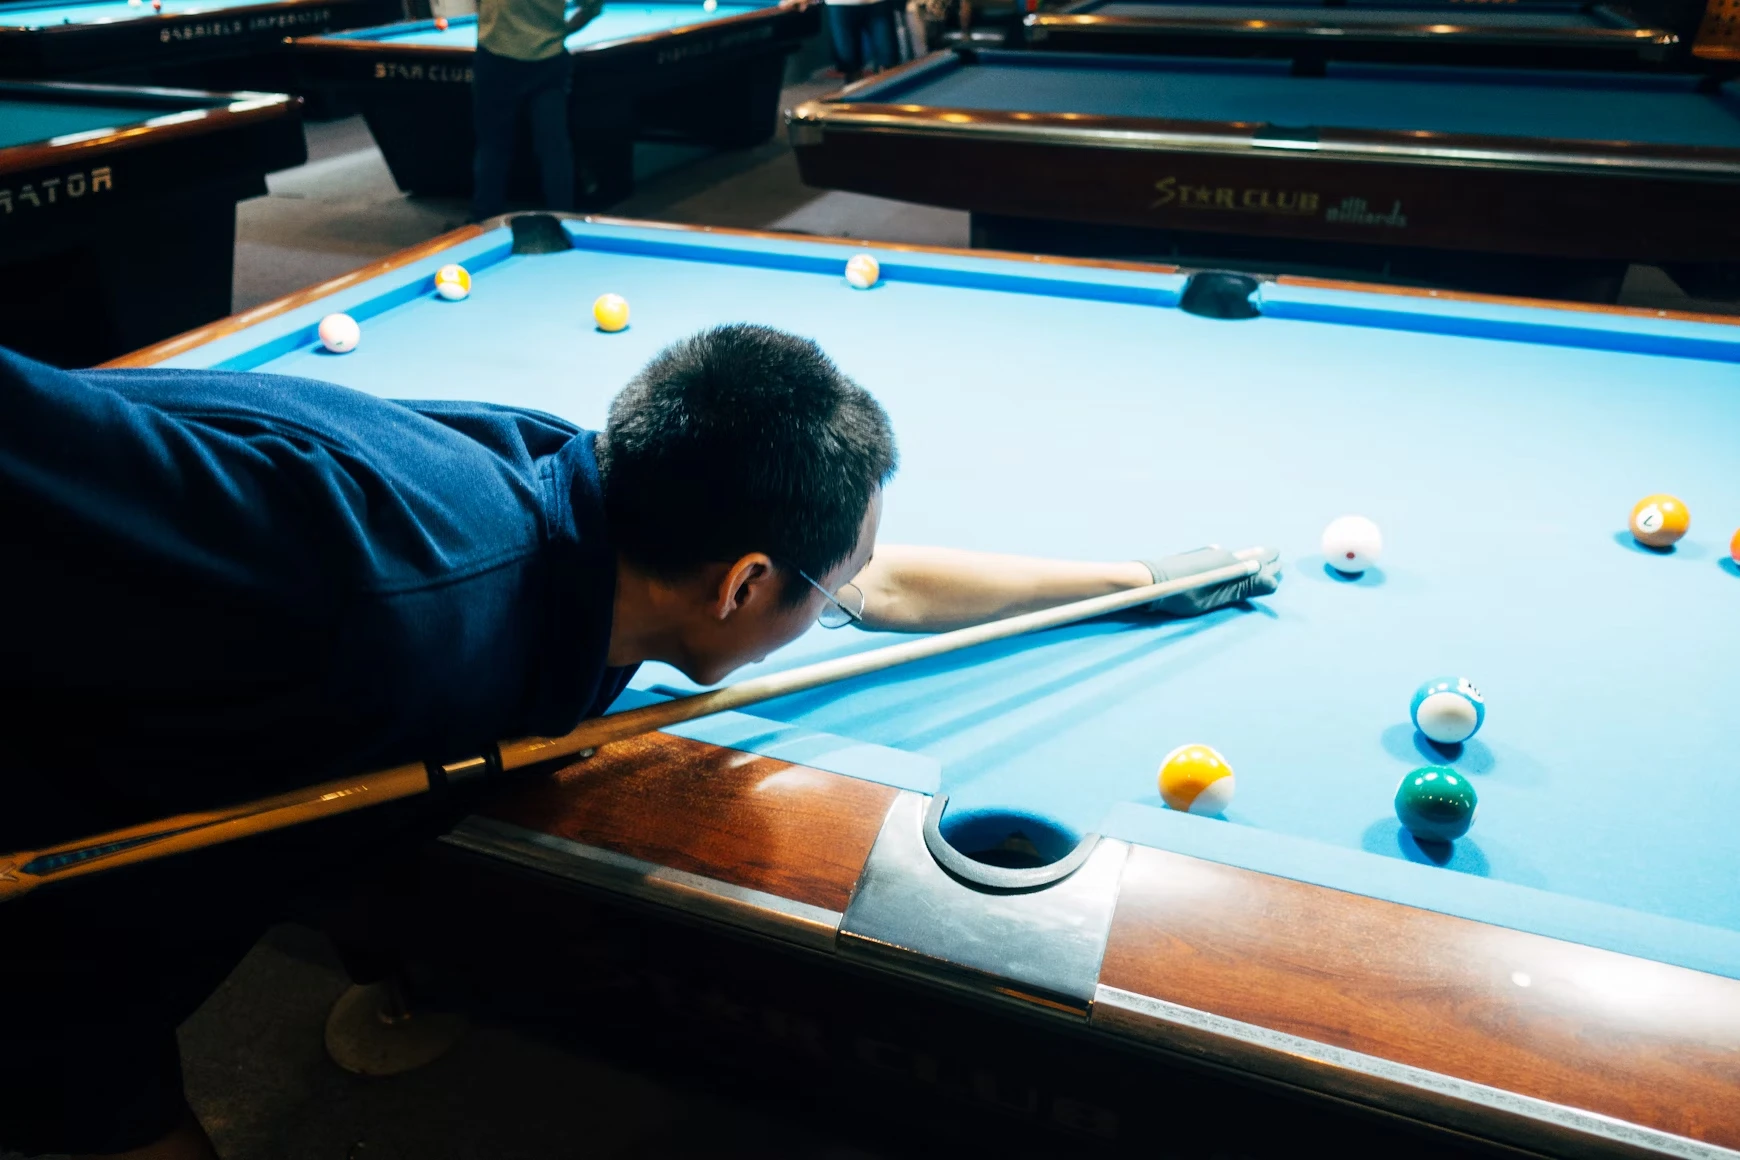
Get In Line With The Table
The next step is to lower yourself so that your head lines up with the cue, the ball, and the table. This arrangement lets you look down the stick and see the direction the cue ball will go when you strike it.
Don’t stand upright or half upright. Standing over the cue means looking down at it, which prevents you from seeing the angles and the area where you will strike the white. When leaning over the table, relax into it. Your body shouldn’t feel stiff or tense.
Adjust Your Lead Hand
Next, adjust your lead hand to the correct position on the table. You have a few choices here depending on what feels right to you.
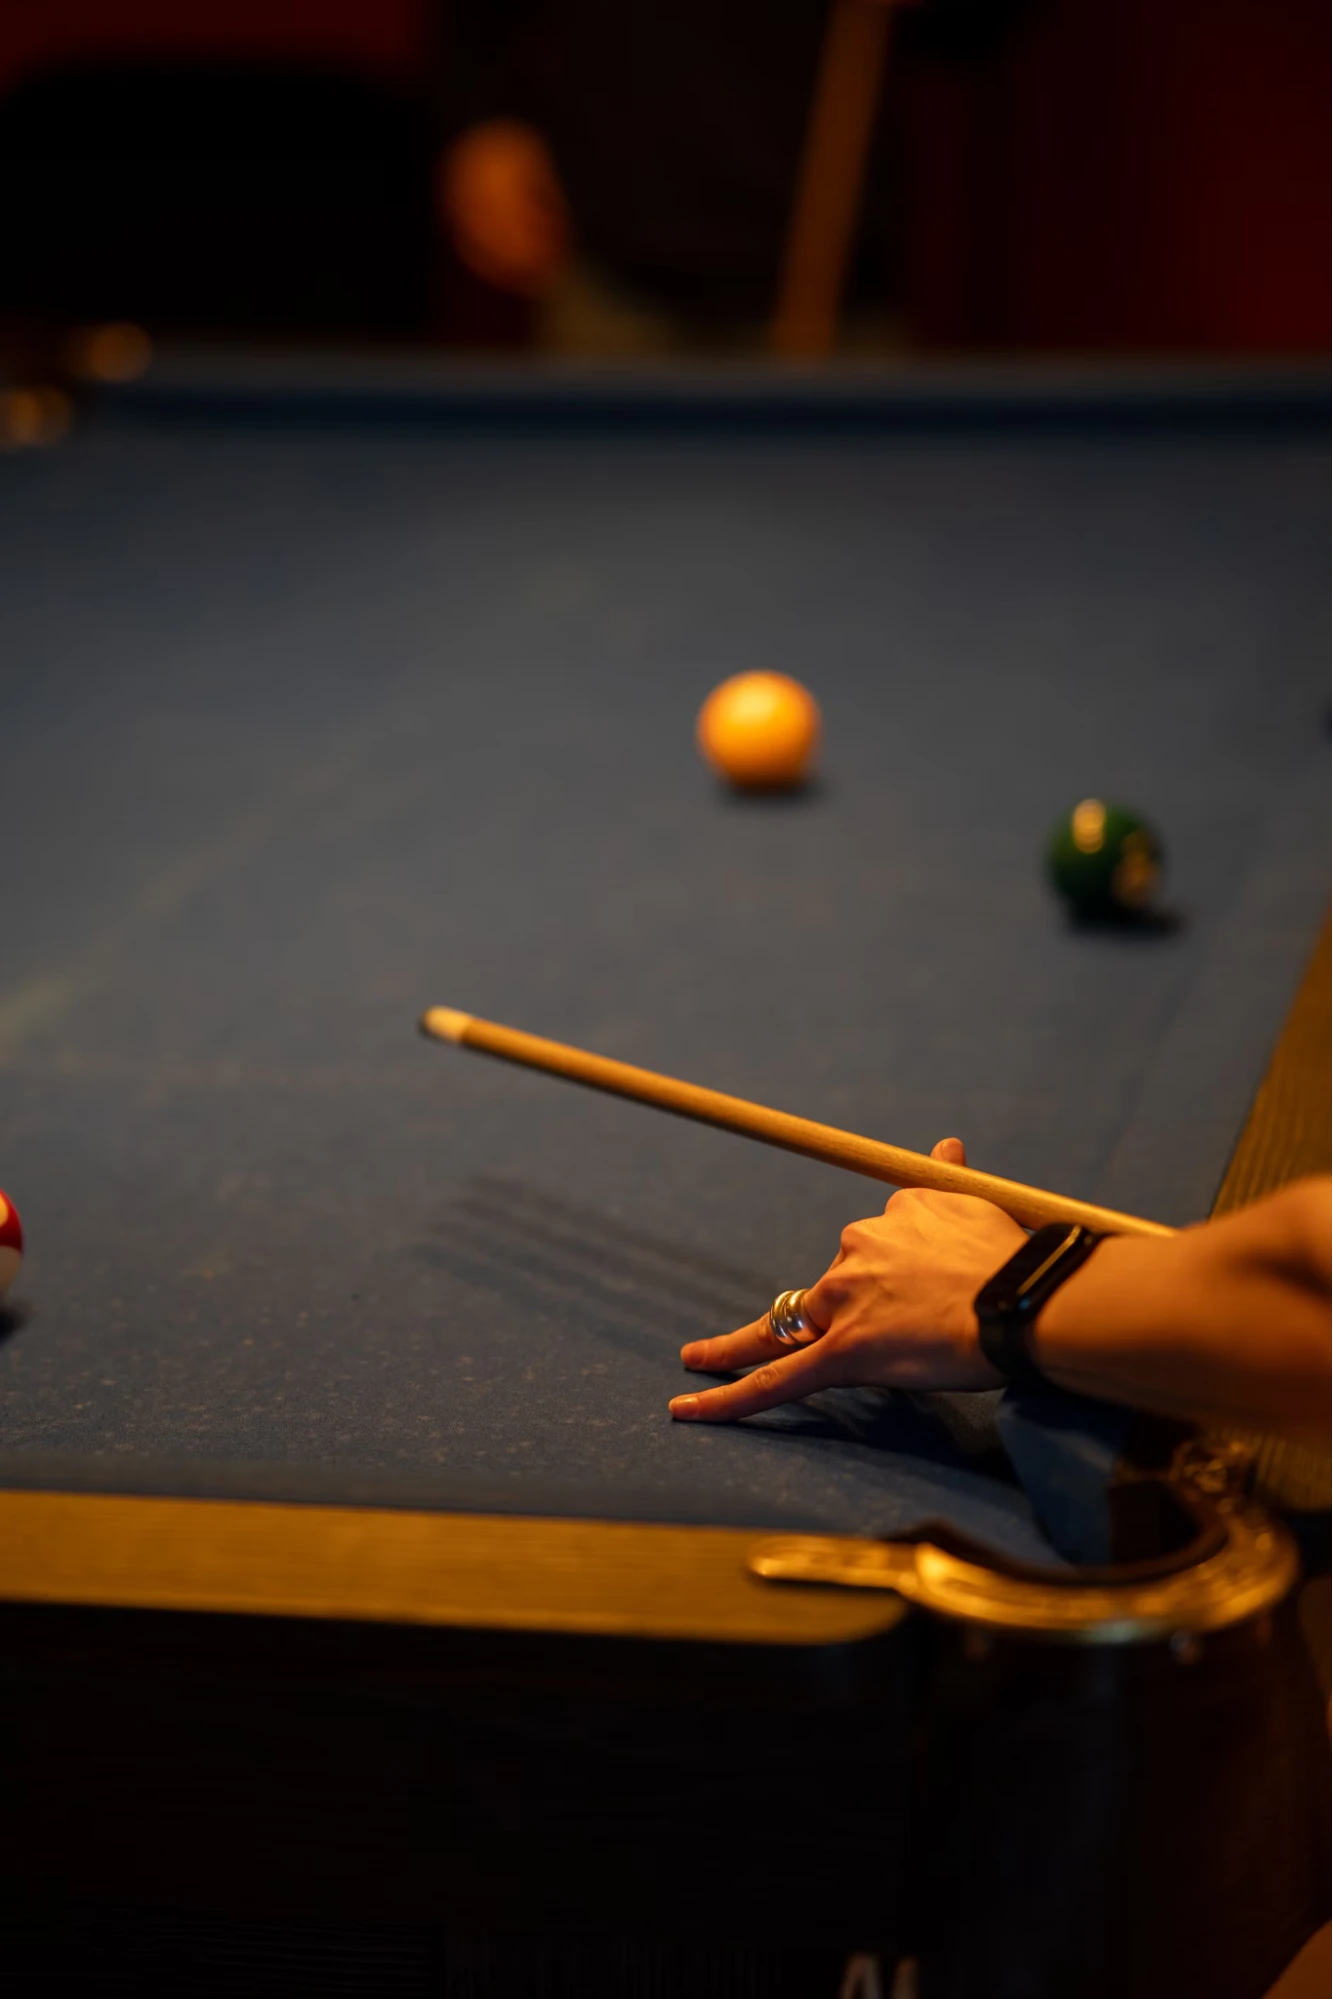
Most players opt for an open bridge. This technique involves placing your lead hand (the non-dominant one) a few inches from the end of the cue palm down on the table. Then, you raise the palm off the table, leaving the fingertips pressing into it, while lifting the thumb upright, creating a groove for the pool stick to travel.
You want to form the bridge around 6 inches from the cue tip. This positioning lets you draw back the stick and deliver power to the cue ball (if necessary). The cue should move smoothly in the valley between the thumb and the index finger without falling onto the table.
You can change the height of the cue by raising or lowering your open bridge. Raising it allows you to add “follow” to the cue ball while lowering it increases “draw.”
Some players also adopt a closed bridge technique. This option involves wrapping the index finger over the top of the pool stick and making contact with the thumb and middle finger to make an O-shape. The cue then travels back and forth through this opening.
This technique is helpful for players with hand injuries or those who can’t make an effective open bridge position. However, it doesn’t offer quite as much control over striking height and may be less accurate.
Eye The Ball
Once your dominant and non-dominant hands are in position, you should “eye the ball.” Here, you look down the pool stick’s shaft, aiming for the spot on the ball that will give you the desired shot.
As a beginner, focus on hitting the middle of the ball. (Later, you can add spin or English, depending on the game’s requirements).
Eyeing the ball helps with striking the surface consistently. Practice hitting the same spot in the center and observe how the ball reacts.
Create A Balance Point And Take The Shot
Finally, you are ready to strike the ball. To do this, create a balance point with your leading, non-dominant hand. The pool stick should feel secure on the bridge and not at risk of flopping onto the table as you move it backward and forward.
Aim to strike the cue ball firmly so it bounces off the end of the stick with a single point of contact. Pushing it results in a scratch (foul) in professional matches.
After you strike the ball, allow the cue to follow through. This action creates a smoother movement that gives you more control and allows you to predict where the ball will go.
Your first few shots will feel tight so practice loosening up and avoiding jerkiness. Feeling natural should be your priority over accurate strikes or powerful hits at this stage.
Advanced Techniques for Pool Grip
Advanced pool stick techniques are helpful in some situations and can get you out of a tricky spot. For example, modified bridges let you play near the bunker/pockets and over the top of other balls in the way. You can also use them for trick shots.
Mechanical Bridge
Sometimes, you need a mechanical bridge. This stick (often kept under the table) forms a bridge for you if you can’t.
Mechanical bridges are more common in snooker where players can’t form a natural bridge without taking both feet off the floor. But you may still require them in pool for some shots.
To use a mechanical bridge, place it on the table behind the cue ball and slot the pool stick into the provided groove. Hold the butt cap of the cue stick and the end of the bridge to line up your shot. The movement should feel natural and smooth.
Elevated Bridge
Learning the elevated bridge can help if you find yourself in a situation where a ball is blocking your shot.
Start by placing the pinkie and index fingers on the table while scooping the remaining digits toward the palm (not in contact with the table). Then, lift the thumb to create a groove for the cue.
The elevated bridge looks awkward (and feels it). But it is the best option when you need extra height to get over the top of a ball in the way. The lead hand will slope steeply downward instead of taking the usual shallow angle.
Creating a smooth pool stick motion is more challenging on the elevated bridge, so you will need to practice it. However, eventually, you will master the technique and it won’t feel as strange.
Rail Bridge
The rail bridge is for when the cue ball is within 1 to 2 inches of the cushion. Here’s how to do it:
- Place the palm on the bumper or side of the table.
- If possible, rest the four fingertips behind the cue ball on the felt (If this isn’t possible, curl them back toward your hand to create a fist-like shape)
- Raise the thumb to create a groove for the pool stick
- Take a shot using the rail for support
Rail bridges feel secure but pay attention to the cue stick’s path. It won’t be the same as for a regular open bridge.
Traditional Rail Bridge
The traditional rail bridge is for shots between 3 and 6 inches from the rail. It offers reasonable control over the cue, allowing for a cleaner strike of awkward balls.
Start by placing the hand on the rail and creating a closed bridge. The pinkie and ring fingers should be on the rail, while the middle finger sits forward on the felt. Then, the cue passes above the thumb but below the index finger, running through the channel they create.
Keeping the thumb upturned helps to guide the pool stick. It should pass through freely with minimal resistance.
Choosing the Right Pool Cue
To make the best shots, it helps to choose the right pool stick. The publicly available ones in bars and arcades are usually beaten up and don’t always perform consistently.
Start by choosing the proper construction material. Most sticks are made of wood, but you can find other designs.
Some players prefer the smoothness of maple cues. These provide a nice “twang” after hitting the ball. Ash is a less common option but nice for players who want fewer vibrations.
Composite materials are also available. Some cues have carbon fiber reinforcement, helping them resist fatigue and moisture damage over time while giving them a stiffer feel.
Cue weight can also vary substantially, giving cueing action a different feel. Light cues weigh between 18 and 19 ounces, while heavier ones are 20 to 21 ounces.
Those new to the game usually pick lighter cues and work their way to heavier ones. Starting light provides more control, while heaviness helps with power and trick shots.
Pool stick lengths can also vary between 48 to 61 inches. Shorter cues are best for shorter players (or those with shorter arms) because cues don’t poke too far back from the grip. Longer cues are better for taller players. These allow them to lower more effectively to the table without running out of wood.
Cue tip selection depends on the degree of accuracy and control you want. Large tips over 13mm diameter are for beginners looking for more contact surface area with the ball. Smaller ones less than this permit more accurate strikes for English, topspin, and backspin.
Lastly, players sometimes consider the cue joint, or how the shaft connects to the butt. Some designs are a single piece of wood, while others use sectional materials.
Metal joints are the most solid and preferred by players looking for a consistent strike. Wood-on-wood joints are for those wanting more “feel” and reverberations through the stick.
Common Mistakes in Pool Handling
Learning how to grip and use a pool stick correctly is complex. Because of this, many players wind up making mistakes. Here are some common errors to avoid:
- Inconsistent grip. An inconsistent grip when cueing is one of the most common problems. Players don’t focus on how they hold the stick, leading to differences in ball control and shot performance. Ideally, the hand should make contact with the same part of the butt and grip it with identical strength (unless you need extra force).
- Placing the cue between the knuckles. No shots require the cue to slide along the knuckles; it is always better to make a proper bridge, even if the ball is close to the rail.
- Poor body alignment. Players can sometimes get the angle of their bodies wrong, usually by standing too tall. Lowering yourself to the table and ensuring the cue lines up with the ball and your line of sight is essential.
- Forgetting ball control. Players don’t always strike the ball cleanly, affecting how it moves across the table. The key is to hit it in one movement and follow through effectively.
Tips for Left-Handed Players
Playing pool left-handed is much the same as right-handed. However, it can help to watch left-handed pros to see how they work.
British superstar Ronnie O’Sullivan is an excellent example. He likes to play ambidextrously, hitting balls with his left hand in some situations, and his right in others. Seeing how he executes shots and positional play can provide valuable insights.
As a left-handed player, you will view the table from a different angle. Therefore, it may take longer to “read” the ball positions. Strategies that suit right-handed players may not be appropriate for you as someone who prefers the left.
Wrapping Up
Reading this, you should now know how to hold a pool stick as a beginner. Getting it right can set you up for success in the future and make the game more enjoyable. You can make more shots, incur fewer scratches, and ultimately beat your opponents.
Seasonal Pool Games
More Games
Pool News
Disclaimer
DISCLAIMER: The games on this website are using PLAY (fake) money. No payouts will be awarded, there are no "winnings", as all games represented by 247 Games LLC are free to play. Play strictly for fun.